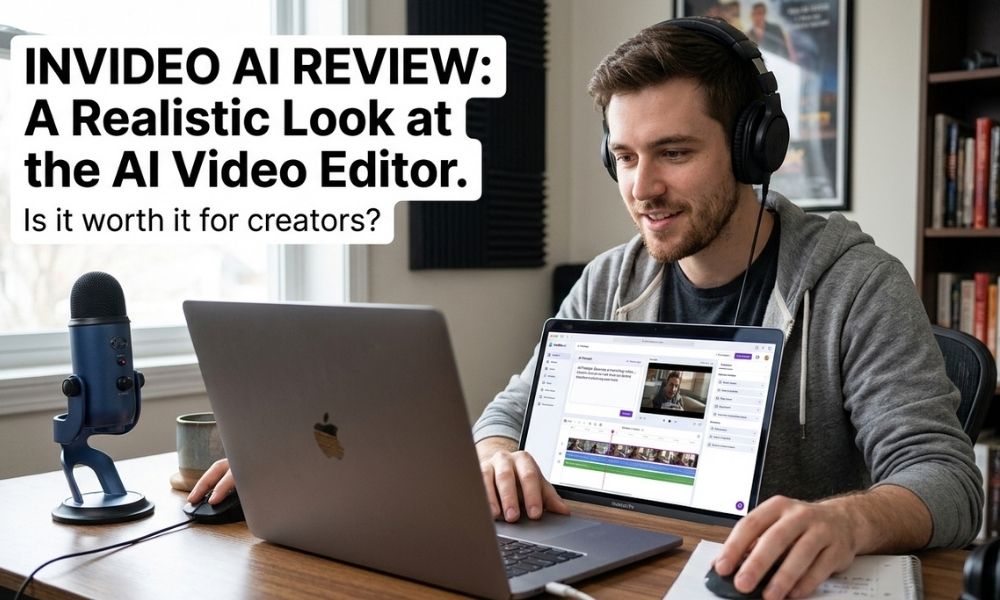
InVideo AI Review: My Honest Experience as a Blogger Trying to Enter YouTube Without Spending Days Editing
I started looking seriously at AI video tools because I wanted to tap into the YouTube market without adding another full-time job to my blogging business.
As a blogger, I already spend time researching keywords, writing posts, updating content, creating Pinterest graphics, adding affiliate links, and trying to keep my site organized. So when people say, “You should also be on YouTube,” I understand the opportunity, but I also know the reality: video creation can eat your whole week if you do not have a simple workflow.
That is why I tested InVideo AI. I wanted to see if it could help me create videos from blog ideas faster, without needing advanced editing skills. I had already tried Pictory and liked how fast it was, but my biggest issue there was that I did not always have enough control over the media displayed. So with InVideo AI, I was looking for speed, flexibility, and a workflow that could fit into a blogger’s real life.
What Is InVideo AI?
InVideo AI is an AI video creation platform that helps you generate videos from prompts, scripts, written ideas, and content briefs. Instead of starting with an empty editing timeline, you describe the video you want, and the tool helps create a draft with script, visuals, voiceover, captions, and pacing.
The reason it attracts bloggers is simple: most bloggers already have content. We have tutorials, comparison posts, affiliate articles, list posts, product reviews, and how-to guides. The problem is that written content does not automatically become video content. You still need a hook, a script, a visual plan, a voiceover, captions, and a clear ending.
InVideo AI tries to shorten that process. It is not the same as hiring a video editor, and it is not a magic “publish perfect video” button. But it does help you move from idea to draft much faster.
If you are still exploring AI video tools generally, you can also read my broader guide on the best AI video generator tools. This article is more specific: it is my practical InVideo AI review from the point of view of a blogger trying to create YouTube content with less overwhelm.
Why I Tested InVideo AI as a Blogger
My goal was not to create cinema-level videos. My goal was to create helpful, watchable videos that could support my blog content, YouTube growth, Pinterest visibility, and affiliate strategy.
The problem with video is not just editing. It is the full chain of decisions: choosing the topic, writing the hook, finding visuals, recording or generating voiceover, adding captions, formatting for different platforms, and making sure the final result does not look lazy.
That is why I was interested in InVideo AI. I wanted to know whether it could remove the heavy parts of the workflow while still allowing me to make the video feel like mine.
For bloggers, this matters because video should not replace blogging. It should multiply the value of the content we already created. One strong blog post can become a YouTube video, a YouTube Short, a Pinterest video pin, an Instagram Reel, and even an email newsletter idea. I explained more of this content repurposing mindset in my guide on how to turn a blog post into a video.
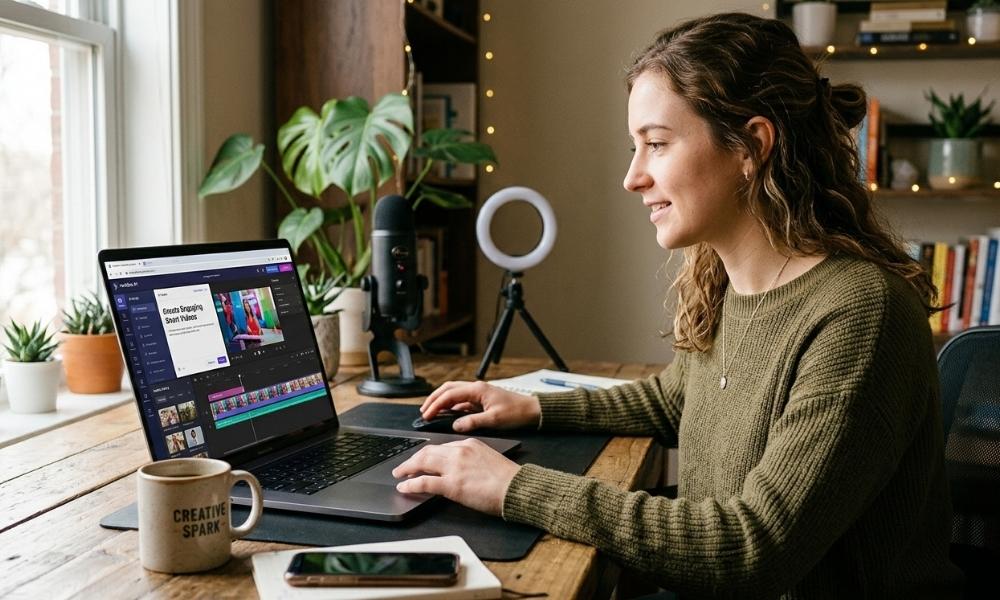
My Real Experience Using InVideo AI
My first impression was that InVideo AI feels less scary than traditional video editing software. I did not feel like I had to understand layers, timelines, rendering settings, and complicated shortcuts before creating something.
The workflow felt closer to giving instructions to an assistant. I could describe the type of video I wanted, the audience, the tone, the platform, and the length. That is useful because bloggers usually think in topics and audience pain points, not in editing timelines.
The first draft came together quickly. That is the part I liked most. When you are trying to test YouTube, speed matters. You do not want to spend five hours editing one video before you even know if the topic has potential.
But I also noticed something important: the first draft still needed my judgment. Some scenes worked. Some visuals felt relevant. Some parts needed rewriting. Some captions need checking. The voiceover was useful, but I still wanted the script to sound more like me.
This is where many people misunderstand AI video tools. They expect the AI to do everything. I see it differently. I use AI video tools to remove the blank-page problem. They create the first version. Then I improve it with my strategy, my examples, and my understanding of my audience.
Compared with Pictory, I felt that InVideo AI was more flexible when I wanted to shape the video through prompts and edits. But I still had to review the media carefully. Stock visuals can make a video look generic if you accept everything without checking.
Features That Matter Most for Bloggers
1. Prompt-to-Video Creation
The strongest feature is the ability to describe the video you want and let InVideo AI build a draft. For bloggers, this is useful because we can give very specific instructions, such as the audience, tone, visual style, platform, and call to action.
2. Script Help
InVideo AI can help generate or structure a script. This is useful when you have a blog post but do not know how to turn it into spoken content. My advice is to never use the script blindly. Blog posts often have long sentences and SEO-style formatting. Video scripts need shorter sentences, clearer transitions, and stronger emotional hooks.
If you need help with the writing side first, you may also like my guides on AI blog writing and the best AI writing tools.
3. AI Voiceover
AI voiceover is useful for faceless creators, especially if you are not ready to record your own voice. But I would still use it carefully. A flat AI voice plus generic visuals can make the video feel low-effort. The pro move is to make the script sound personal before generating the voiceover.
4. Stock Media and Visual Editing
InVideo AI can use stock media and generated visuals depending on the workflow and plan. This saves time, but you should still check every major scene. My rule is simple: if the visual does not support the message, replace it.
5. Captions and Platform Formatting
Captions matter because many people watch videos without sound. For blog repurposing, I would create one horizontal version for YouTube and one vertical version for Shorts or Pinterest. This way, one idea gives you more than one content asset.
Step-by-Step Example: Creating a Video From a Blog Post With InVideo AI
Step 1: Choose a Blog Post With Proof of Interest
I would not start with a random article. I would choose a post that already has signs of interest: Pinterest saves, Google impressions, affiliate clicks, email replies, or comments. Good candidates are posts like “best AI tools for bloggers,” “how to turn a blog post into a video,” “Pinterest marketing strategy for beginners,” or “YouTube channel ideas without showing your face.”
Step 2: Extract One Strong Video Angle
A blog post can be broad, but a video usually needs one sharp promise. Instead of turning the full post into a long video, I would choose one clear angle. For example: “I tested AI video tools as a blogger. Here is the fastest way to turn blog posts into YouTube videos.”
Step 3: Rewrite the Blog Intro as a Hook
The first 5 to 10 seconds matter. A blog introduction can be slow because readers can skim. Video viewers decide quickly. I would open with the pain point: “If you are a blogger and you want to start YouTube but you do not have time to edit videos for hours, this is the workflow I would use.”
Step 4: Create a Short Script
I would not paste a 2,500-word article directly into the tool. Instead, I would create a shorter script with a hook, three to five main points, one common mistake, a final recommendation, and a call to action. A strong 700-word script can become a better video than a full blog post copied word for word.
Step 5: Give InVideo AI a Detailed Prompt
My prompt would include audience, tone, platform, visual style, length, and CTA. For example: “Create a 5-minute YouTube video for beginner bloggers who want to turn blog posts into videos using AI. Use a friendly first-person tone. Keep the pacing practical and not too technical. Use visuals of blogging, laptops, content planning, YouTube dashboards, Pinterest graphics, and AI tools. Add captions. End with a CTA to read the full guide on my blog.”
Step 6: Review Like an Editor
After the draft is created, I would review it scene by scene. Does this visual match the point? Is the voiceover too fast? Are the captions accurate? Is the hook strong enough? Does the video feel useful or generic? This step separates a generic AI video from a useful creator video.
Step 7: Export More Than One Asset
If I spend time creating one video, I want more than one output. I would create a full YouTube video, a 30-second Short, a Pinterest video pin, a teaser clip, and a short email paragraph linking to the video. If Pinterest is part of your traffic plan, connect this with your Pinterest marketing strategy.
My Pro Tips for Better InVideo AI Results
Pro Tip 1: Start With the Viewer, Not the Tool
Before opening InVideo AI, I would ask: what is my viewer struggling with right now? For this audience, the pain point is usually not “I need a video.” It is “I want YouTube traffic but I do not have time to learn editing.” When the pain point is clear, the video becomes more useful.
Pro Tip 2: Give Visual Instructions
If you only give a topic, the AI may choose generic visuals. Instead of saying “make a video about blog monetization,” I would say: “Use visuals of blogging dashboards, affiliate links, Pinterest pins, digital products, email lists, and simple income tracking spreadsheets. Avoid random corporate office clips.”
Pro Tip 3: Create a Reusable Prompt Template
If you plan to make videos regularly, do not write a new prompt from scratch every time. Create a reusable prompt template with your brand tone, audience, preferred style, and CTA. This helps your videos feel consistent.
Pro Tip 4: Replace the Weakest 20% of Visuals
You do not always need to edit every single scene. But I would always replace the weakest 20%: vague office footage, random laptop clips, or visuals that do not match the message. This makes the video feel more intentional without doubling your editing time.
Pro Tip 5: Use Your Blog as the Trust Layer
The video can introduce the idea and send people to the full blog post for details, templates, screenshots, or affiliate recommendations. For monetization planning, read how to monetize your blog from day one and AI affiliate marketing.
InVideo AI Pricing Notes
InVideo pricing changes, so I would always check the official InVideo pricing page before choosing a plan. At the time of this review, InVideo’s public pricing page explains that paid plans include access to many image, video, audio, and music models, access to InVideo’s AI workflows, stock providers, and credit-based usage.
This matters because AI video pricing is not always as simple as “one monthly fee equals unlimited everything.” Some platforms use credits, generation limits, exports, stock media limits, or watermark restrictions. Before paying, check how many credits are included, whether watermarks are removed, whether commercial use is allowed, what stock providers are included, and what happens if you run out of credits.
My advice is to start with the smallest plan that fits your actual publishing schedule. If you only plan to test two or three videos, do not overbuy. If you already have a batch of blog posts ready to repurpose, then a higher plan may make sense.
InVideo AI vs Pictory vs Lumen5: Which One Would I Choose?
| Tool | Best For | My Main Concern | How I Would Use It |
|---|---|---|---|
| InVideo AI | Prompt-driven video creation, flexible AI workflows, social and YouTube videos | Still needs review so visuals do not feel generic | Fast YouTube drafts, Shorts, Pinterest video pins, and repurposing blog ideas |
| Pictory | Turning scripts and blog posts into videos quickly | I wanted more control over the media displayed | Use it when speed matters more than visual customization |
| Lumen5 | Simple branded social videos and blog-to-video content | May feel more template-based depending on the style | Use it for polished social-style videos and quick blog summaries |
If I wanted the fastest blog-post-to-video workflow, I would compare InVideo AI and Pictory first. If I wanted clean social-style branded videos, I would also test Lumen5. You can read my related guides on Lumen5 AI text to video and Lumen5 alternatives.
My personal pick depends on the job: Pictory for speed, InVideo AI for flexible prompting, and Lumen5 for branded social summaries. For a blogger trying to enter YouTube with less effort, InVideo AI is worth testing because it helps you think from idea to video, not just from article to slideshow.
Tips to Increase Engagement and CTR on AI-Generated Videos
1. Make the Title Specific
A generic title like “AI Video Tool Review” is weak. Better titles include the use case and the audience: “I Tried InVideo AI to Turn Blog Posts Into YouTube Videos,” “Can Bloggers Use InVideo AI to Start YouTube Faster?” or “InVideo AI Review: Is It Good Enough for Faceless YouTube?”
2. Use a Thumbnail With a Clear Promise
Do not make the thumbnail too crowded. I would use a clean design with short text like “Blog Post → Video?”, “Worth It?”, “AI Video Test,” or “Fast YouTube Workflow.” The thumbnail should not repeat the full title. It should make the promise instantly understandable.
3. Open With the Pain Point
Instead of starting with “InVideo AI is an AI video platform,” I would start with: “If you are a blogger and you want to start YouTube but editing videos feels like too much work, I tested InVideo AI to see if it actually helps.”
4. Add Pattern Interrupts
AI-generated videos can feel slow if every scene has the same rhythm. Add a quick text overlay, screen recording, before-and-after example, zoom-in, or short personal comment every 20 to 30 seconds.
5. Use the Blog Post as the Conversion Page
For bloggers, the video does not have to sell everything. The video can attract attention and send people to the blog post. The blog post can include screenshots, comparisons, affiliate links, email opt-ins, and internal links.
Final Verdict: Is InVideo AI Worth It for Bloggers?
My honest answer is yes, InVideo AI is worth testing if you are a blogger who wants to create YouTube videos faster and repurpose existing content.
The best thing about it is speed. It helps you move from idea to draft without facing a blank editing timeline. That alone can make video creation feel less overwhelming.
But the biggest warning is this: do not publish the first draft without editing. AI-generated videos still need human judgment. You need to improve the hook, check the visuals, review the captions, and make sure the video feels like it came from a real creator.
I would use InVideo AI as part of a blogger content system. I would choose a proven blog post, turn it into a shorter script, generate a video draft, replace weak visuals, add branding, create a YouTube version, and then make shorter clips for Pinterest and Shorts.
So my final InVideo AI review is this: it is not a magic button, but it is a practical tool for bloggers who want to enter the video market with less time and effort. If you treat it as a smart assistant and not a complete replacement for your creativity, it can help you publish more consistently and test YouTube without burning out.
If your goal is faceless content, also read YouTube channel ideas without showing your face or voice.
FAQ About InVideo AI
Is InVideo AI good for bloggers?
Yes, InVideo AI can be useful for bloggers who want to turn written content into videos. It is especially helpful for repurposing blog posts into YouTube videos, Shorts, and Pinterest video pins.
Is InVideo AI better than Pictory?
It depends on your workflow. Pictory is very strong for quick blog-to-video and script-to-video creation. InVideo AI may feel more flexible if you like prompt-based direction and want to shape the creative outcome more actively.
Does InVideo AI replace a video editor?
Not completely. It can replace some early production steps, like drafting, scripting, and assembling scenes, but you still need human review for quality, branding, and strategy.